Setting up a crypto wallet used to be a high-stress chore.
You had to write down 24 words. You had to hide them in a safe. You lived in constant fear of losing a piece of paper. For years, this "seed phrase fatigue" was the barrier to entry for self-custody.
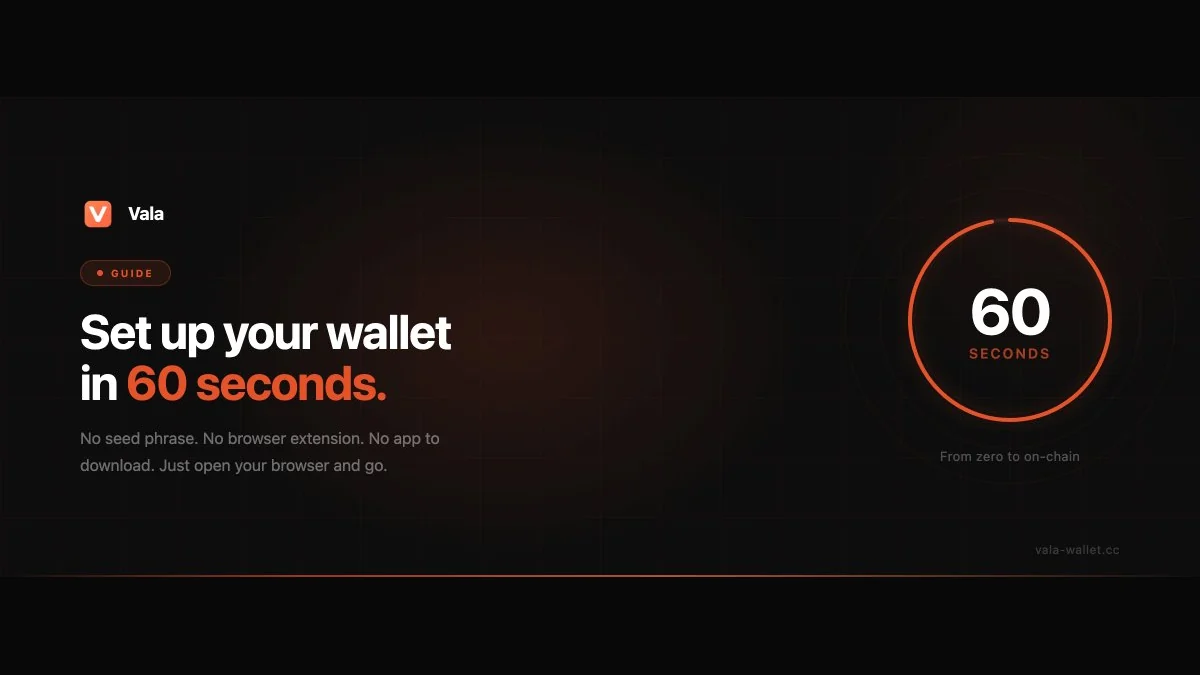
Vala Wallet changes that.
Getting started is fast, browser-based, and designed to feel like a modern app, not a complex math problem.
Here is exactly how to get started.
Step 1: Open Vala
Go to vala-wallet.cc in your browser.
There is:
- No app to download.
- No browser extension to install.
Vala runs directly in your browser on desktop, tablet, or mobile. By removing the installation step, Vala removes the first and biggest point of friction.
Step 2: Enter Your Invite Code
Vala is currently onboarding users in phases to ensure platform stability.. To begin, you need a valid invite code. Enter your code on the landing page to unlock the onboarding flow. This ensures a stable experience for every new user on the Canton Network.
Step 3: Choose Your Username
Pick a unique identity. Usernames must be at least 3 characters (letters and numbers only). As you type, Vala shows you a preview of your wallet address. This username is how you will be identified within the Canton AllFi ecosystem.
Step 4: Create Your Wallet with a Passkey
This is where the magic happens. Instead of a complex password, Vala uses WebAuthn passkeys.
Depending on your device, you will use:
- Face ID
- Touch ID
- Device PIN or Windows Hello
Vala uses this secure hardware-level authentication to generate and encrypt your wallet keys locally.
Technical Truth: Your keys are generated in your browser's IndexedDB. If your device supports it, Vala uses "PRF" encryption: the strongest hardware-bound security available. If your device is older, Vala offers a secure password fallback.
Step 5: Secure Your Backup
Vala is a true self-custody wallet. That means you are in control.
After your wallet is created, Vala displays a private key backup. It is blurred by default for your privacy. Reveal it, copy it, and store it in a secure location (like a password manager). This is your ultimate recovery tool if you ever lose access to your device. No one, including Vala, can recover your funds if you lose this key.
Step 6: Final Configuration
Before you hit the dashboard, Vala performs a few automated setup steps to ensure your wallet is optimized for the Canton Network:
- Allocating your Party ID: Your unique identifier on the network.
- Activating UTXO Merging: A background feature that keeps your wallet efficient.
- Wallet Proxy & Auto-Accept: Setting up the infrastructure to interact with external dApps and receive transfers automatically.
Once these are green, you are in.
What Happened Under the Hood?
The simplicity of the UI hides a sophisticated, zero-knowledge architecture.
During those 60 seconds, your private keys were generated entirely on your device. At no point did those keys:
Leave your browser.
Pass through a Vala server.
Get stored in a central database.
Vala is a non-custodial interface. Your keys are generated and stored on your device — they never touch our servers. We provide the software; you provide the keys.
Why This Matters
Traditional onboarding is fragile. Seed phrases are easy to lose and hard to manage.
Ready to join the Canton AllFi ecosystem?
Start your setup at vala-wallet.cc
Note: If you are waiting for an invite, join our waitlist on the home page. We are moving through the list as network capacity allows.